I’m not going to lie. I just got consistent at emailing my blog subscribers over at She Be Knowin. For me, emailing always consisted of a lot of insecurity and indecisiveness. First, I didn’t like my email template (but I’m also a designer so I could totally design what I wanted….if I knew what I what I wanted). So I would spend way too much time on Really Good Emails or some other design source to try to inspire my look. Spoiler alert still didn’t know what I want. Second, I never knew what to say. Sending emails sometimes feels like shouting into an abyss, because people typically don’t reply back. So at best, you look at your campaign metrics and see who opened, clicked or unsubscribed each time. (If you’re sensitive like me, I suggest you don’t look at your unsubscribe metric. It will only drive you crazy, wondering why they won’t e-love you.) If you’re fancy, you also linked your email marketing to Google analytics so you can see how deep they got into your website before leaving. But that will probably be another lesson for another day. The point is, a single email included so much self-inflicted distress that I never saw myself wanting to do it in a consistent manner.
And that may be you too.
But I have seen the light, and I’m here to help you too. See, I made my email marketing so easy that I had absolutely no excuse not to do it. So easy that I can do it from the palm of my hand, which means I can get it done anywhere from inside a boring meeting to on my new adult couch that hold so near and dear. I’m going to show you my workflow for my blog, but you are welcome to apply the general concept to any email marketing you do.
To get started, you’ll need just two apps:
Canva
MC Snap
In addition to a Canva and MailChimp login, you’ll also need a good source for photos. For my blog, I typically use CreateHER Stock and Adobe Stock for my featured blog promo images.
First, I created a “template” in Canva for all my email images. Since MC Snap optimizes for mobile first, I choose their social media image size.
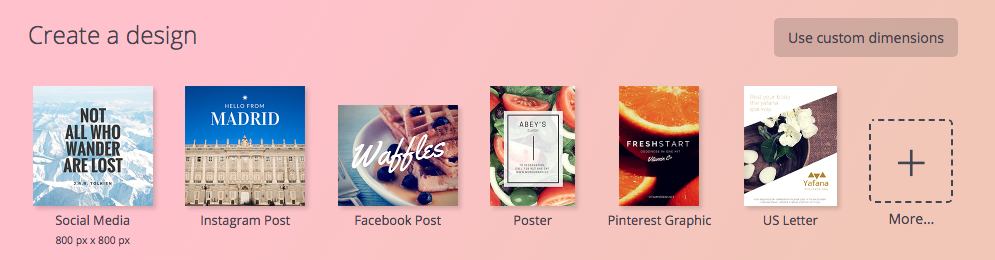
Canva has a lot of great layouts, so you don’t have to overthink the design.
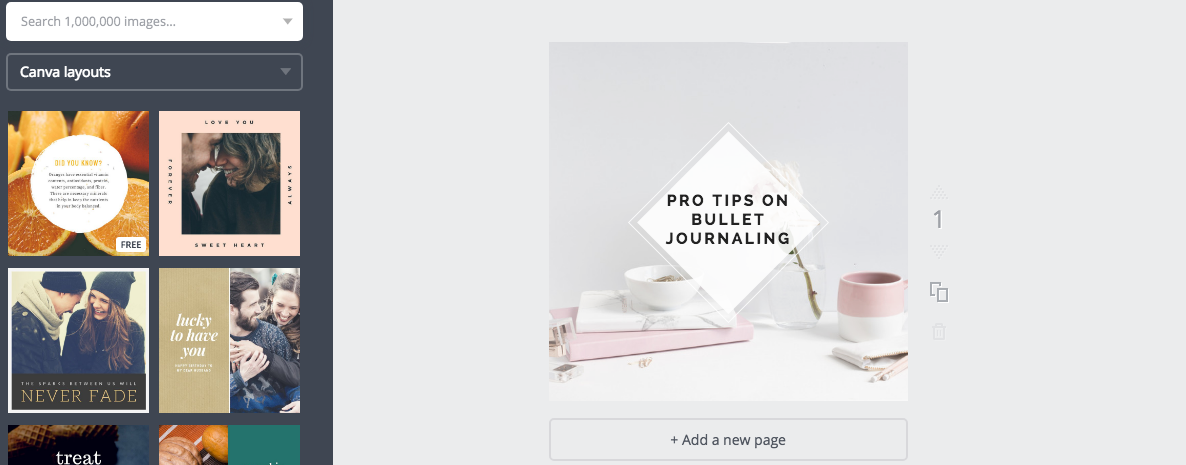
Bam! I have committed to my layout and don’t plan on leaving it until I do. Please note, I did the initial setup on desktop Canva. Moving forward, I’ll be able to access this design both on my app and on the desktop.
Another note, since I use this for blogging, I typically already have my feature image uploaded to Canva from making my other social posts. This is a time saver, most definitely.
On my phone, I simply swap out the image and text I need on the Canva app and save to my photo album.
Next up, I head over to MC Snap. The email layouts are very simple so I don’t have to overthink my email design. Keep it simple and get stuff done, stupid. (KISAGSDS, if you were wondering.) MC Snap is so simple that you do most of what you need to do for your email is on one page. One possible drawback is you only have an opportunity for one link/button. For emails that are meant for sharing a blog post, that’s not a big deal to me.
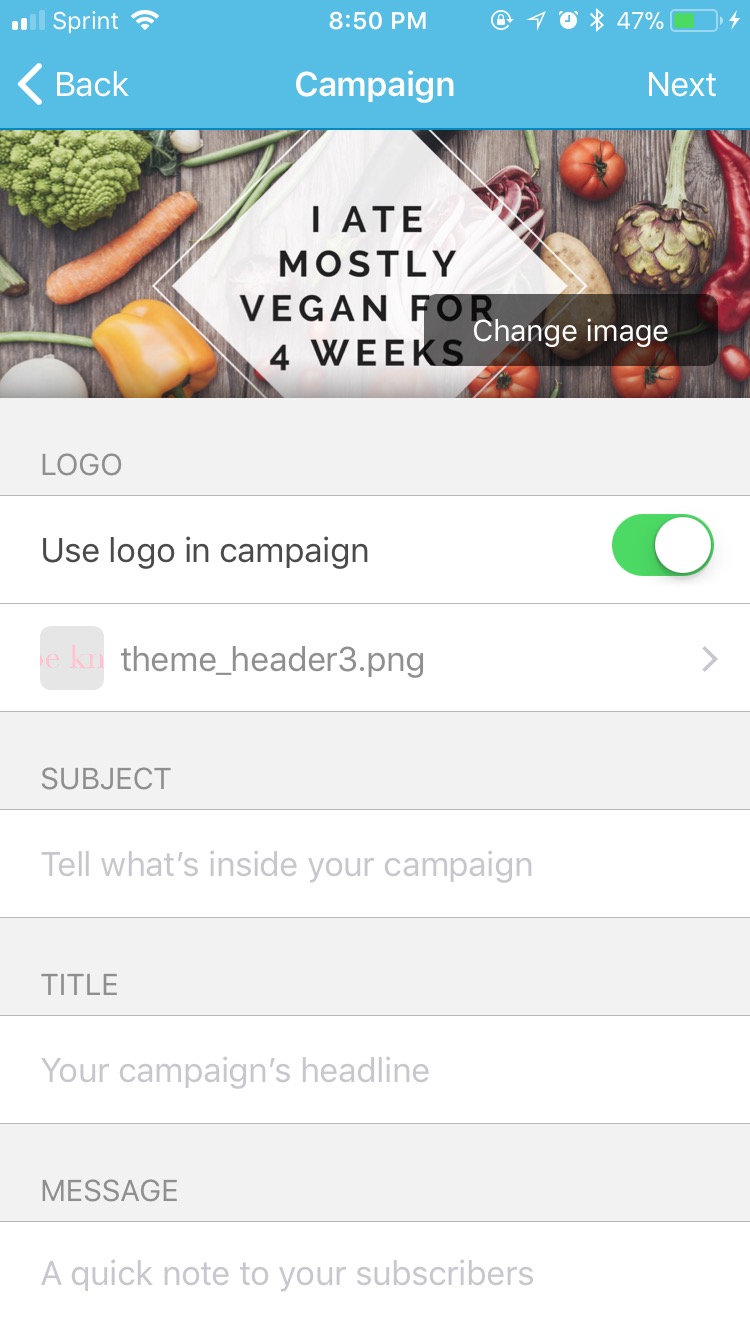
After you fill in the main email details, you get to choose from one of 5 layouts. From there, you select which list you send to and Presto Bingo, you’re done!
Now that you’ve gotten the basics, you’re well on the way to more consistent and better email marketing. Want to get in the learn more about what makes a great email? Sign up for your FREE 5-day course on better email marketing! In this course, I lend my 5 years of experience with advertising agency and freelance digital marketing to teach you how to rock your emails. You definitely won’t want to miss this.
Rock that Email Marketing
Signup for a FREE 5-day course on better emails. Future you will thank you.